Restored from the project wiki (we.riseup.net), which is no longer online.
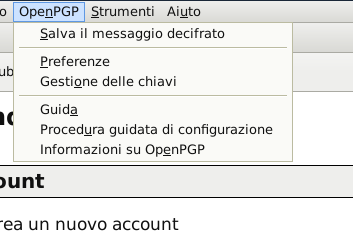
1. From Thunderbird’s main menu, click on "OpenPGP" and then on "Gestione delle chiavi":
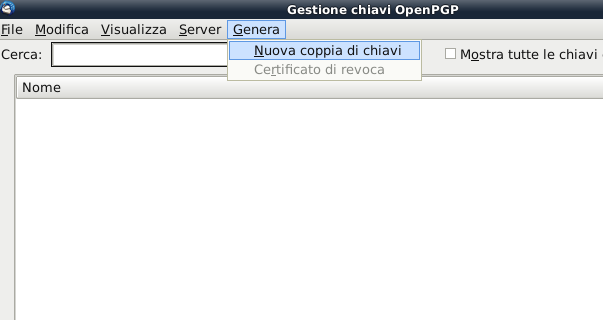
2. From the key management screen, select "Genera" and then "Nuova coppia di chiavi"
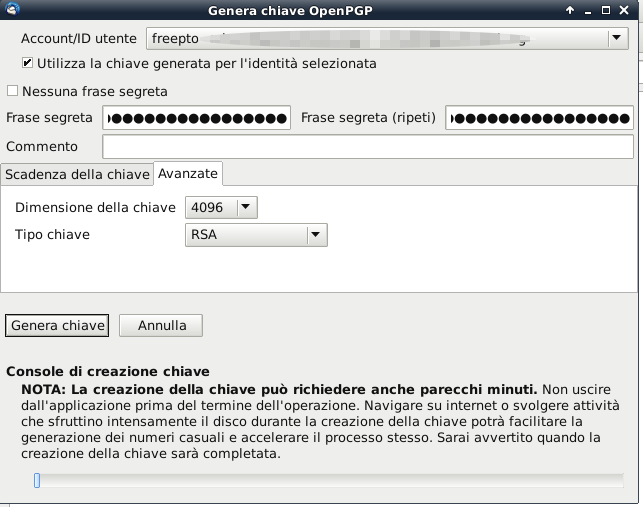
3. Select from the drop-down menu the email address you want to associate the GPG key with, and also tick the box relating to password expiry (La password non scade mai)
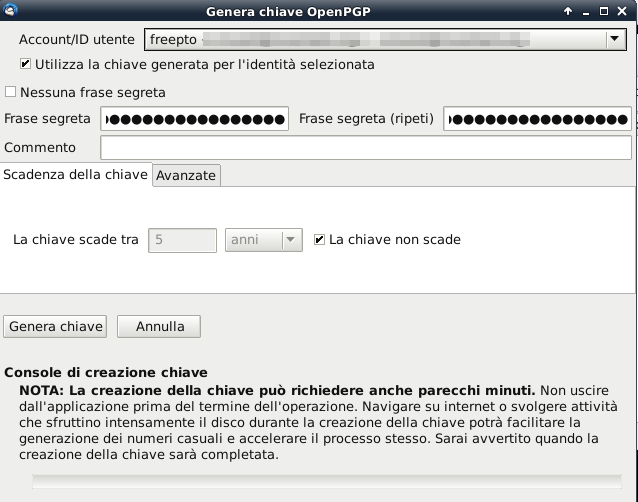
4. Select the tab Avanzate and set the key size to 4096 and the key type to RSA
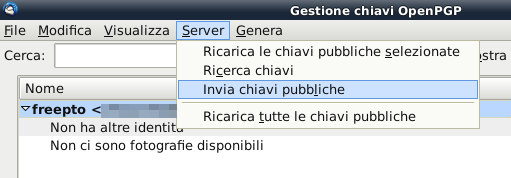
1. At this point, to make your key available to anyone who wants to use it you need to upload it to a keyserver; to do so just select from the menu Invia chiavi pubbliche
In order to send each other secure email, your friends will then need to be able to know your fingerprint, so that they can verify and sign your keys. This step can be done by copying the fingerprint out by hand onto slips of paper to hand round, or by reading it out over the phone (you need to be able to recognise the tone and timbre of the voice, so text messages are not suitable).
If you use freepto, the command-line tool gpg-key2ps is very handy: it makes it easy to print slips containing your gpg key. It will create a .ps (PostScript) file full of “little rectangles”: print it wherever you like, cut them out and hand them round whenever you can!
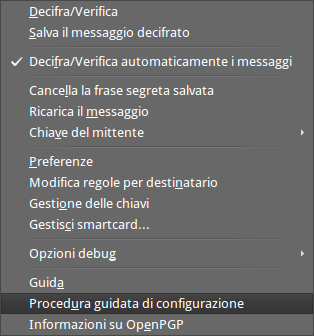
1. From Thunderbird’s menu bar, select OpenPGP >> Procedura guidata di configurazione
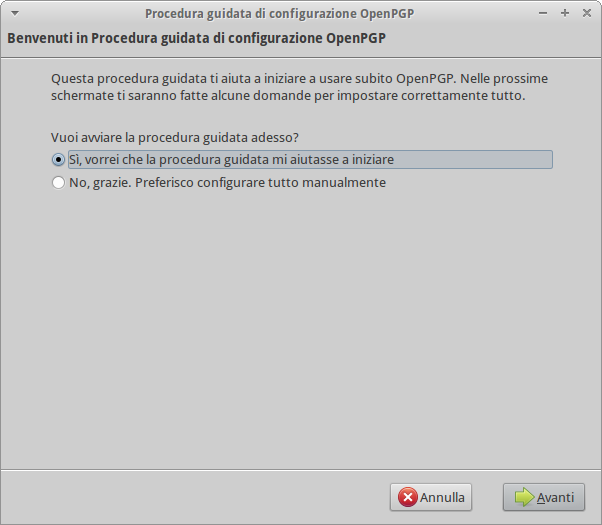
2. Start the wizard
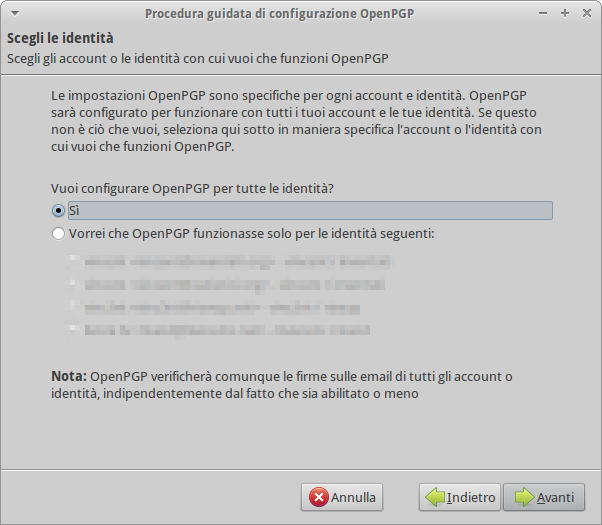
3. Select Configurare OpenPGP per tutte le identità
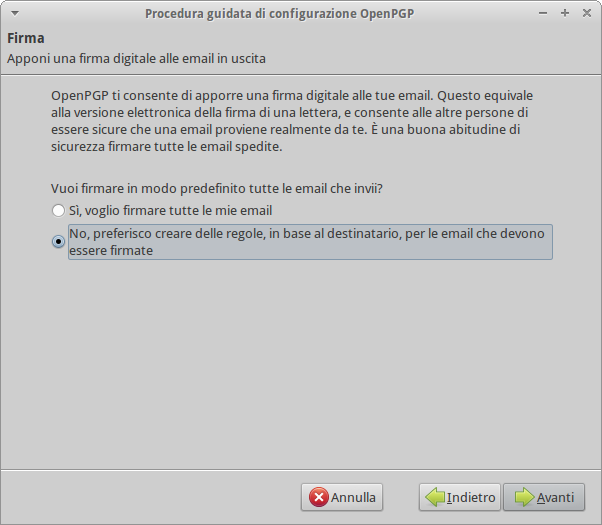
4. The Digital Signature on mail can sometimes be a risk. It is better to choose each time whether or not to sign the mail you are sending.
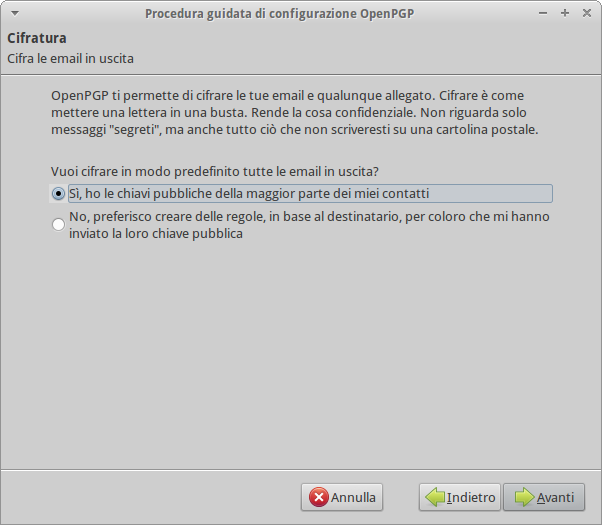
5. In the case of encryption, on the other hand, it is preferable to use it always. Obviously this is only possible if the recipient has a GPG.
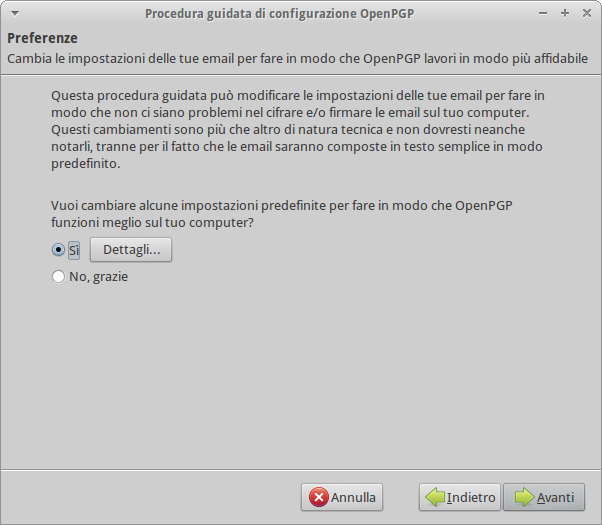
6. Change Thunderbird’s default settings, disabling html as the default format for mail.
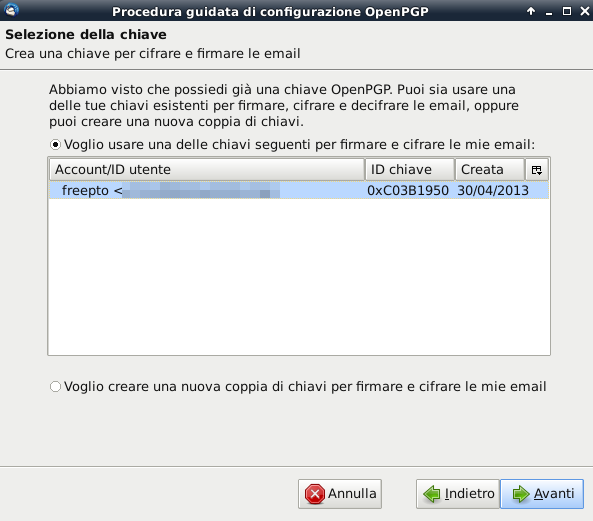
7. Finally select the GPG key we want to associate with the account configured in Thunderbird